When creating your game blocks, it’s normal to make a mistake or simply change your mind. That’s why it’s important to know how to edit any game block.
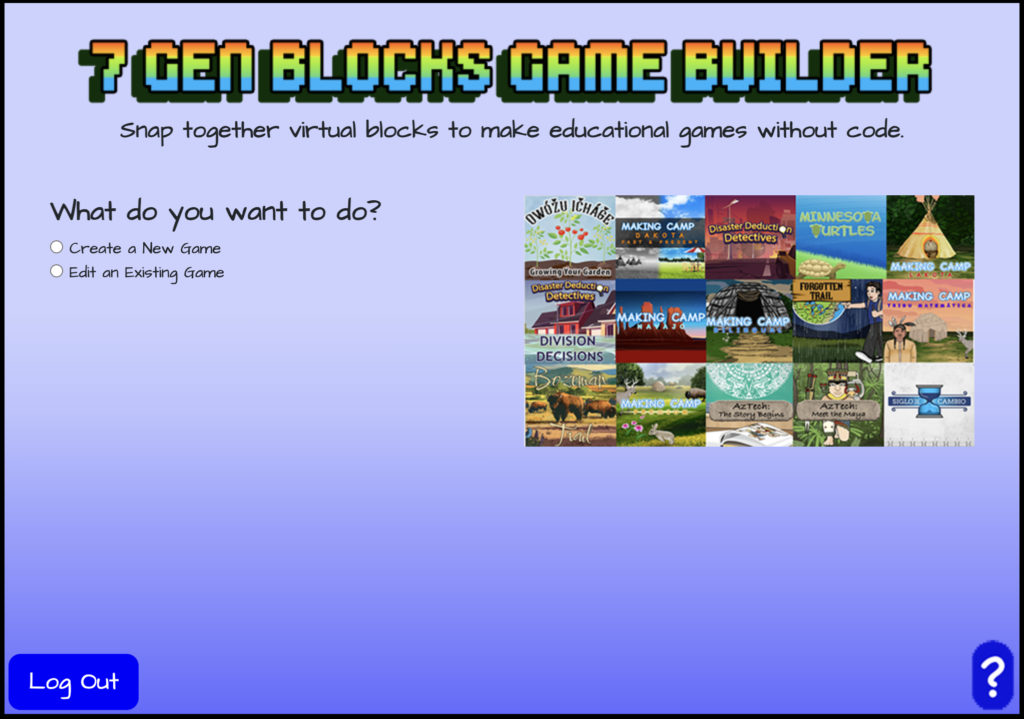
Login and Choose Game to Edit
When choosing to edit a game block, like your visual novel, login to the 7 Gen Blocks Game Builder like you normally would. However, instead of creating a game, select “Edit an Existing Game”. Then choose the game that you want to edit from your list of games.

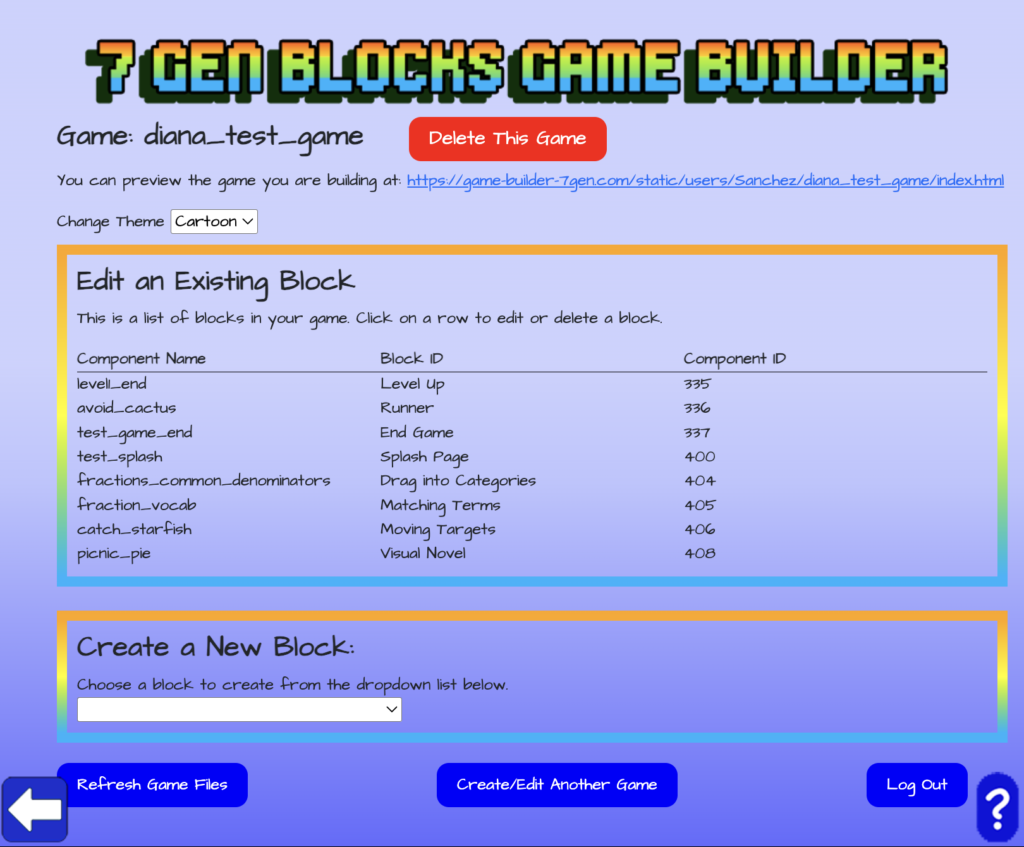
Choosing Your Block to Edit
Once you have chosen the game, you can then choose which existing block in that game you want to edit. You’ll be shown a list of the blocks in that game. Click on the name of the block that you want to edit. In this case, we’re selecting to edit the visual novel. You’ll be asked if you want to edit or delete your visual novel. Click on edit.

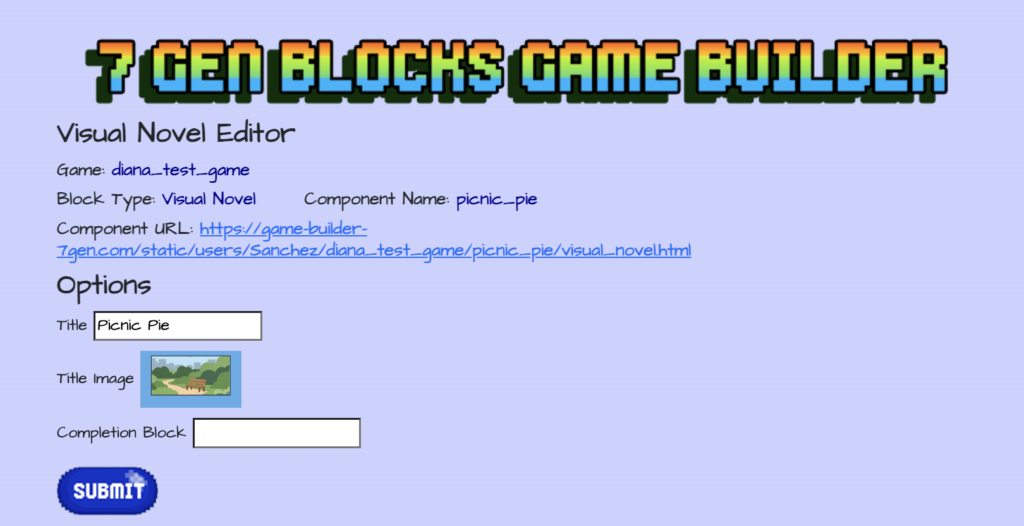
Visual Novel Editor – Changing Title and Image
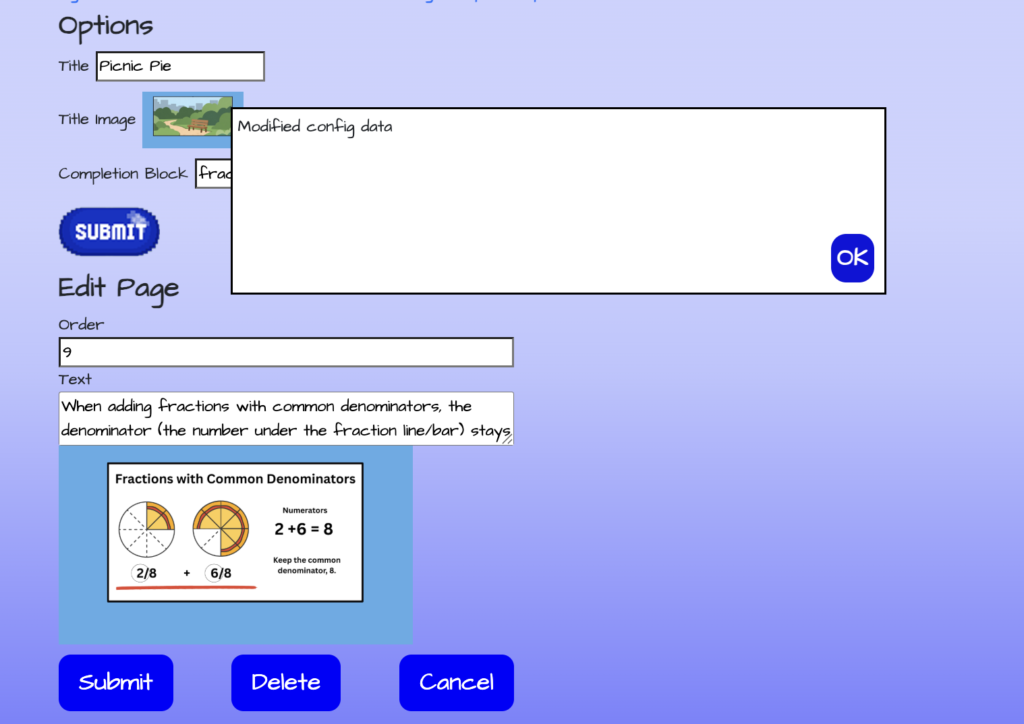
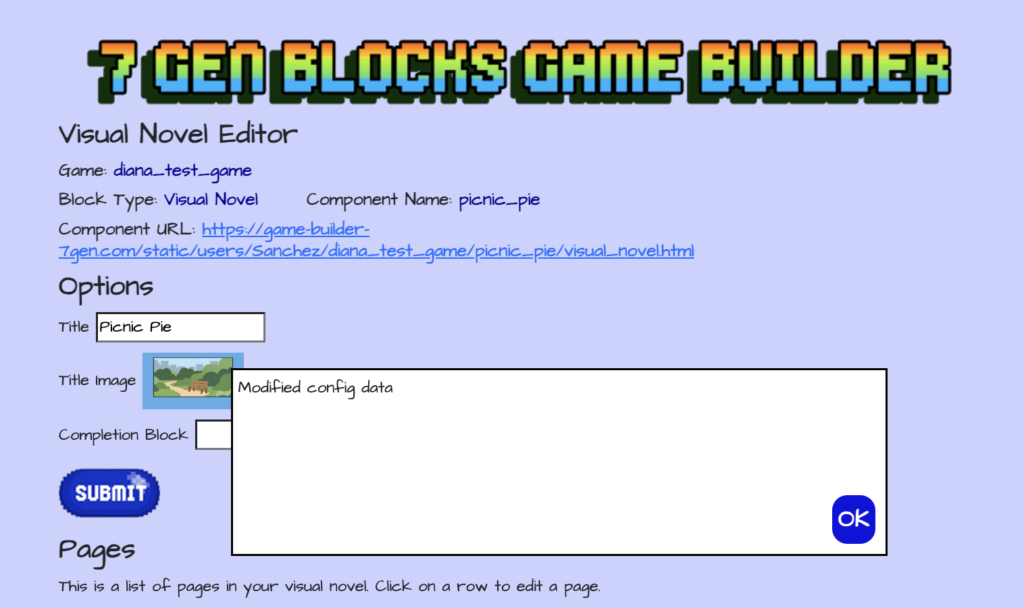
After choosing to edit your visual novel, you’ll be directed to the Visual Novel Editor. Using the Visual Novel Editor, you can change the title and title image for your visual novel. You can also change the name of the completion block.
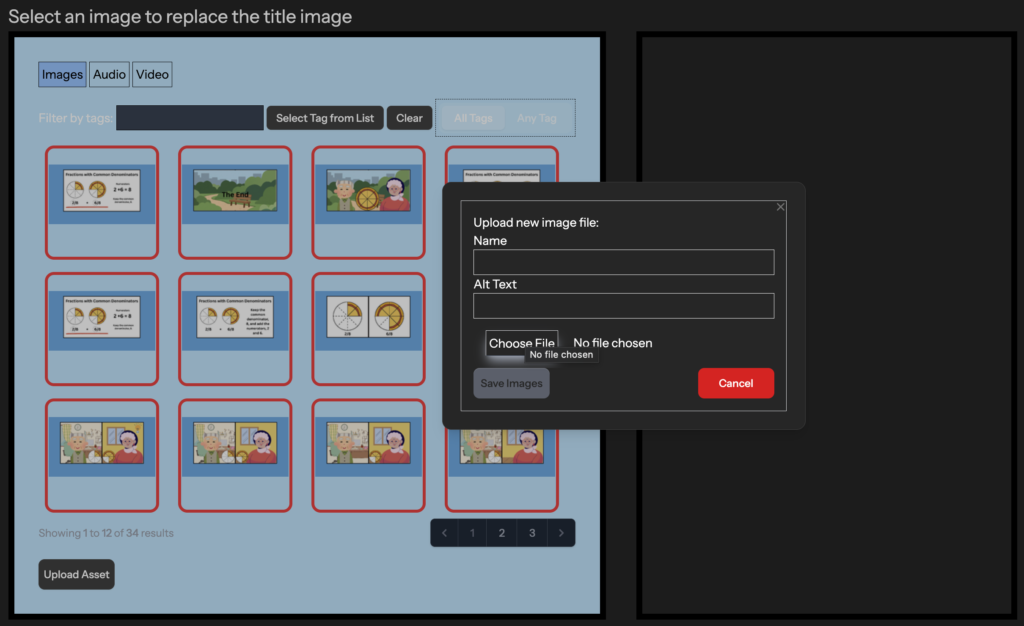
To change the title image, click on the current title image to open the asset manager. Using the asset manager, you can select the image that you want to replace the current title image for your visual novel. Or you can click on the “Upload Asset” button in the asset manager in order to upload a new image.
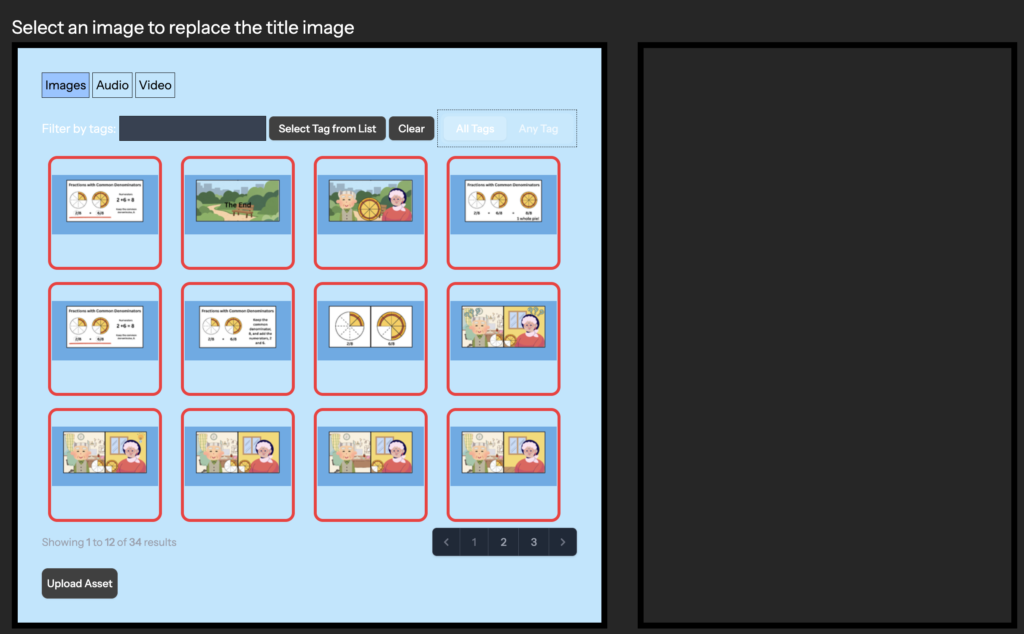
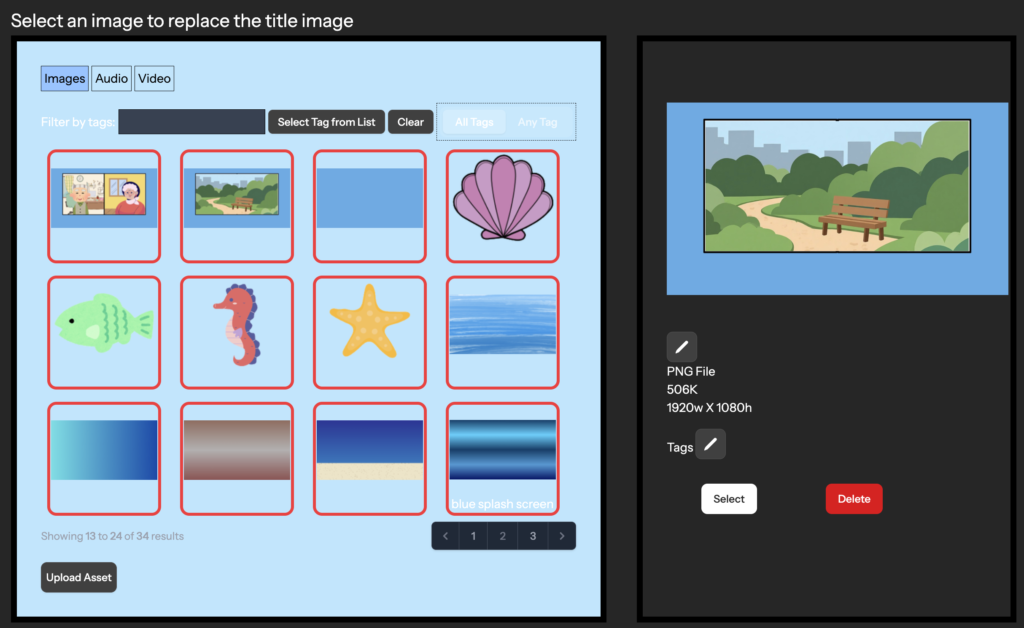
When uploading a new image, click on “Choose File”, select the image you want to upload, and click “Save Images”. Once you have uploaded your new image or if you are selecting another image already uploaded, make sure to click on the image that you want to select as your new title image. Selecting the image will show you those image’s details, there you can click on the “Select” button to make that image your new title image for your visual novel.
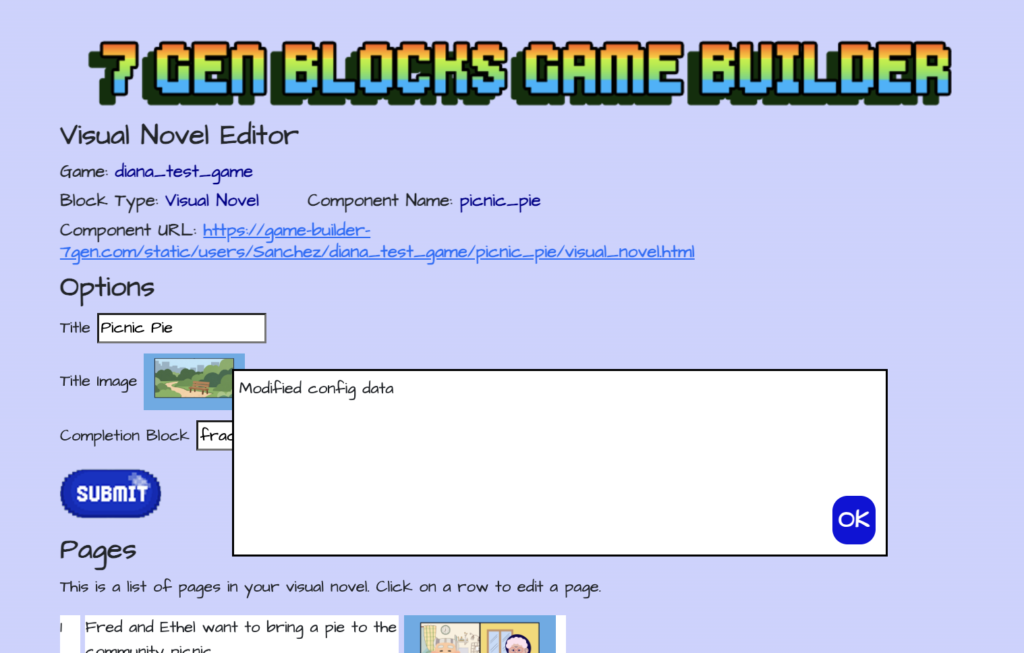
Once you have finished making the changes to the title, the title image, and the completion block using the Visual Novel Editor, click on the “Submit” button to save those changes. You’ll then be shown a pop-up message indicating that the changes were saved.
Visual Novel Editor – Pages
Then scroll down to the second section of the Visual Novel Editor. There you’ll be able to edit existing pages and add new pages to your visual novel.
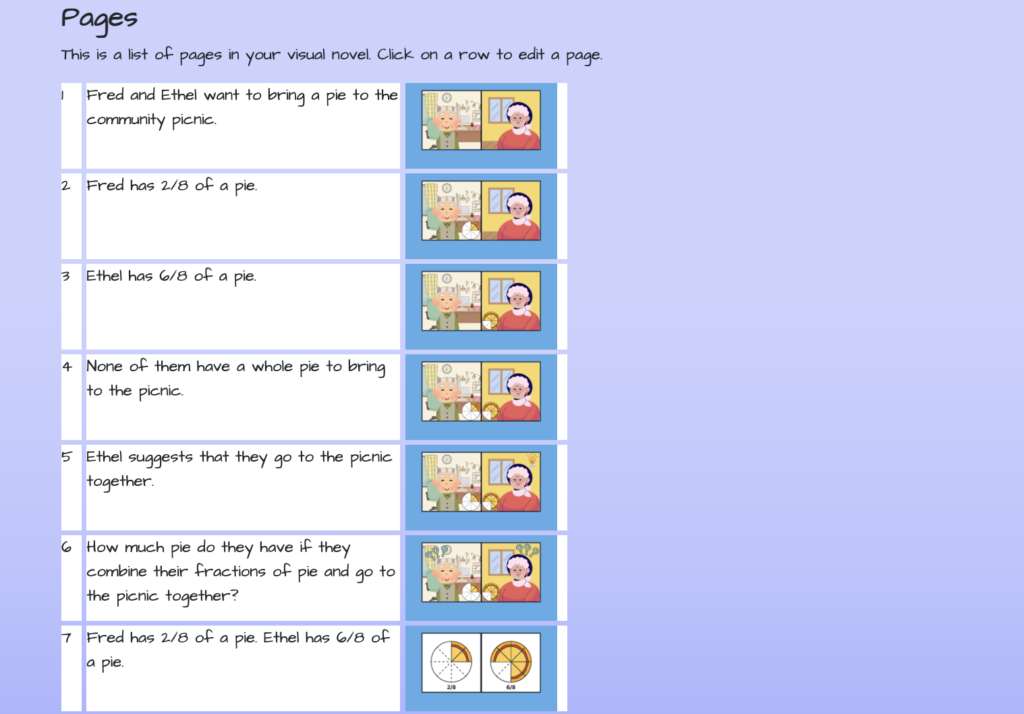
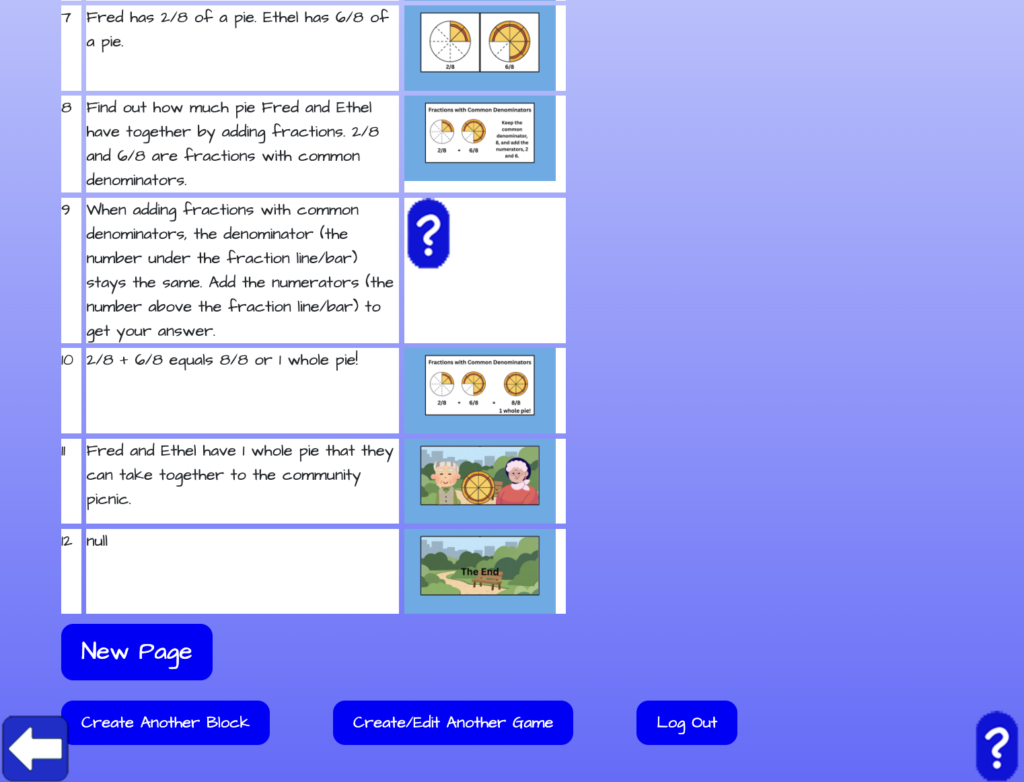
Edit Existing Pages
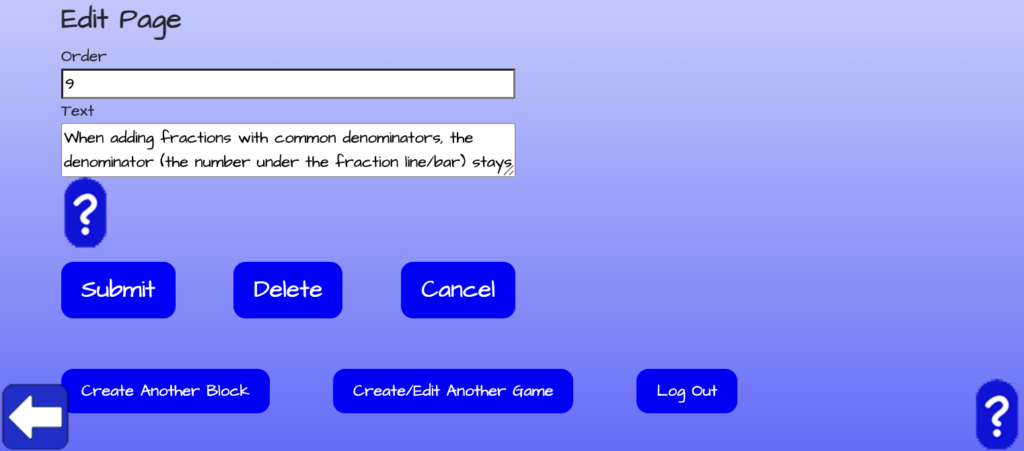
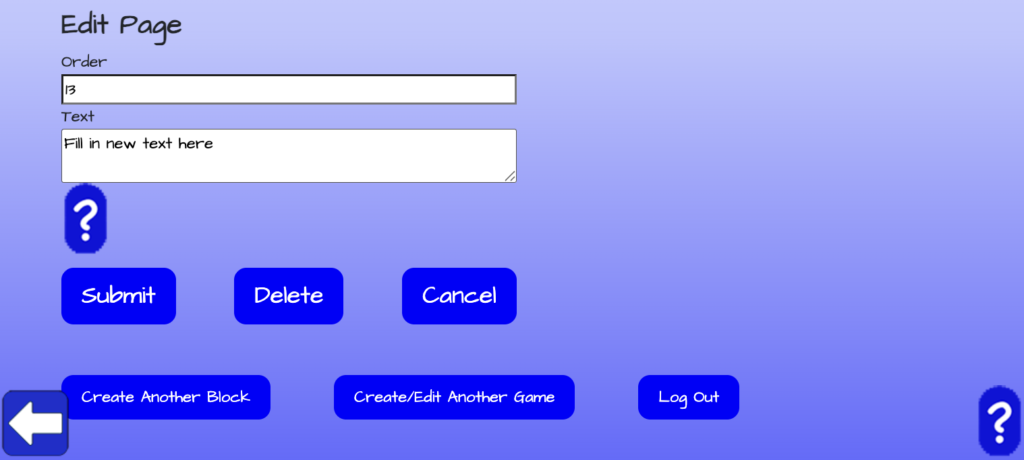
Click on any of the images for an existing page that you want to edit. If you forgot to add an image and would like to add it now, then click on the blue question mark to add an image and make other edits. When editing an existing page, you can edit the order in which this page appears in your visual novel by changing the number in the “Order” text field and then edit the page text as well.
To edit the page image, click on the existing image, or blue question mark if an image wasn’t previously added, in order to open the Asset Manager. Follow the same steps shown above to upload a new image or select an image to add as the screen image for that visual novel page.
Once you are done editing an existing page, click on the “Submit” button and you’ll see a pop-up message indicating that the changes for that page have been saved.
Add New Pages
If you want to add a new page to your visual novel, click on the “New Page” button at the bottom of the Visual Novel Editor. You’ll get a pop-up message at the top of the editor indicating that a new page has been added. Click on “Ok” and scroll to the bottom of the Pages section to see the newly added page.
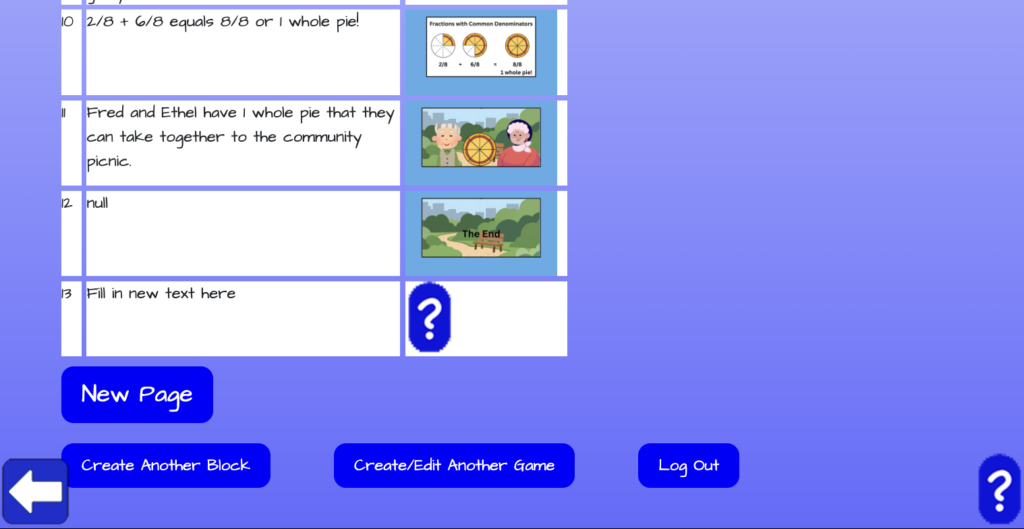
Click on the page image (the blue question mark) in order to upload or select an image as the page’s image. Also edit the text for the page and you can edit the order of the page in your visual novel by editing the order number. Once you’re done adding the new page details, click on the “Submit” button under the Edit Page section to save the changes to the new page. You’ll see a pop-up message indicating that the changes were saved.
You can also choose to delete the new page added if you change your mind or click on the “Cancel” button to exit the editing of the new page and go back to your list of pages.
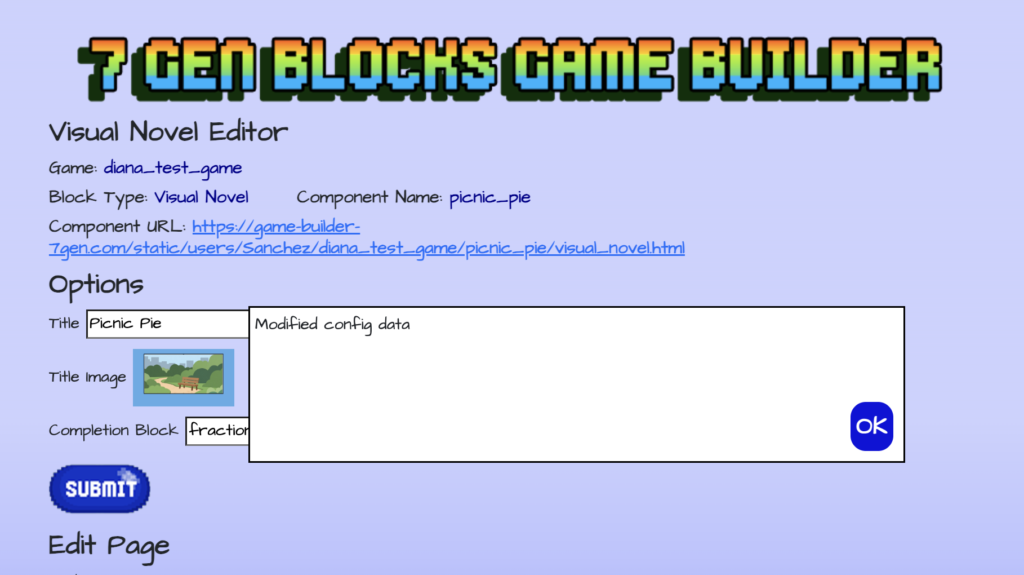
Once you are done editing the title and title image of your visual novel and editing existing or adding new pages, click on the “Submit” button at the top of the editor to make sure that all changes are saved. You’ll see the same “Modified config data” pop-up message indicating all changes have been saved. Click “Ok” and then you can use the buttons at the bottom of the editor to create another block, create/edit another game, or log out.