The structure of a visual novel is simple.
- Give your block a name
- Begin with a title page. This is optional.
- Next, you add screens. Each screen has 1-3 lines of text and an image.
- Keep adding until you’re done.
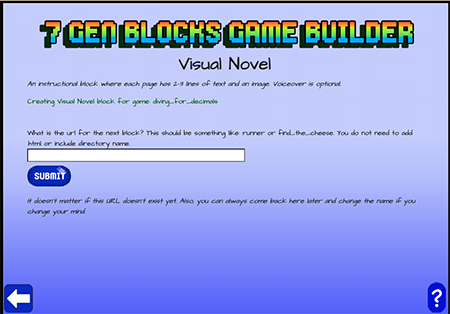
- Give the name of the next block. It doesn’t matter if this block does not exist yet. You can add it later.
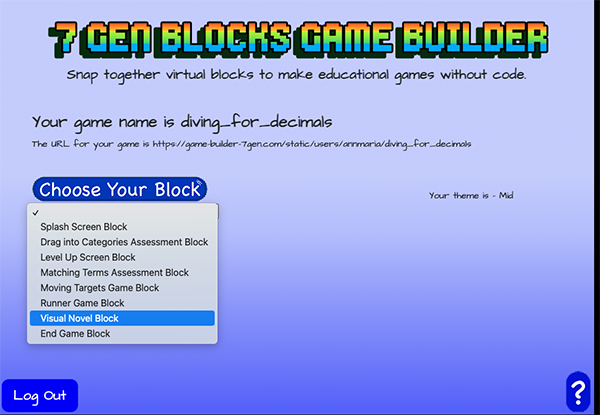
Choose Visual Novel Block
From the drop-down menu, select Visual Novel Block from the drop-down menu. The first screen looks slightly different depending on whether you are creating a new game or editing an existing one. If creating a new game, you’ll just see your game name above the CHOOSE YOUR BLOCK
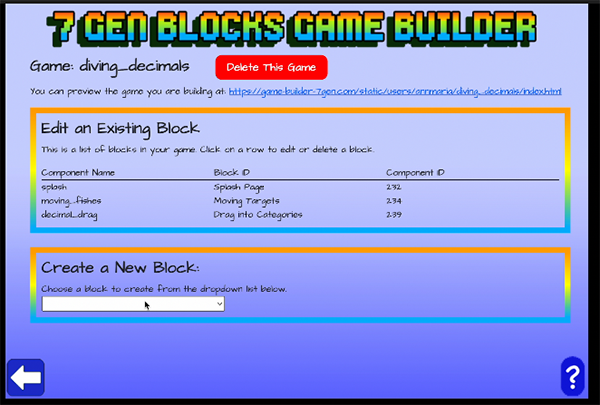
If editing a block, you’ll see the names of the existing blocks and a drop-down to Create a New Block
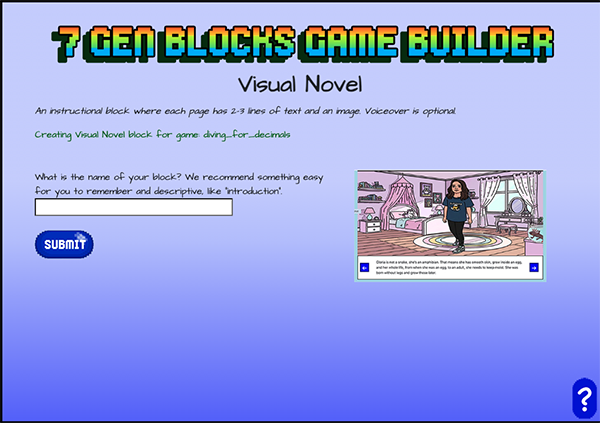
As with every block, the next step is to give your block a name
The same rules apply to every block. If the block name includes spaces, these will be turned into underscores (_)
You’ll need to remember this block name if you want to edit it later, or if you want to refer to it as the next block.
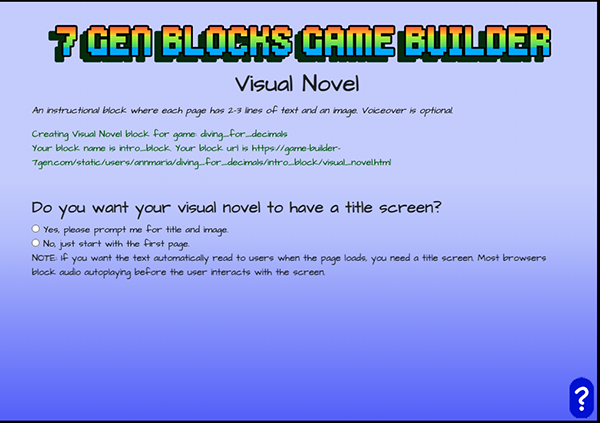
The title page
The title page is optional. If you select Yes here, you will be prompted for title text and a title image.
NOTE: Because browsers block autoplay, there needs to be some user interaction before audio will play. That means, that if you want the text in the graphic novel, or any other audio, like sound effects or a sound track, to play beginning with the first page, you need a title page.
Type the title you want
You’ll be asked on the next screen what you want the title text to be. The title will be shown exactly as you type it, including any spaces and special characters.
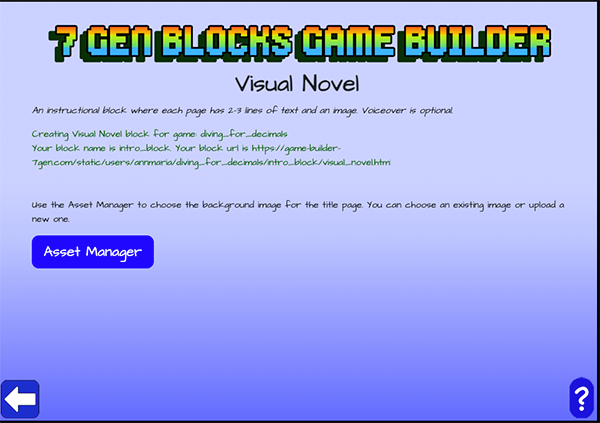
Click on the button for asset manager to select the image
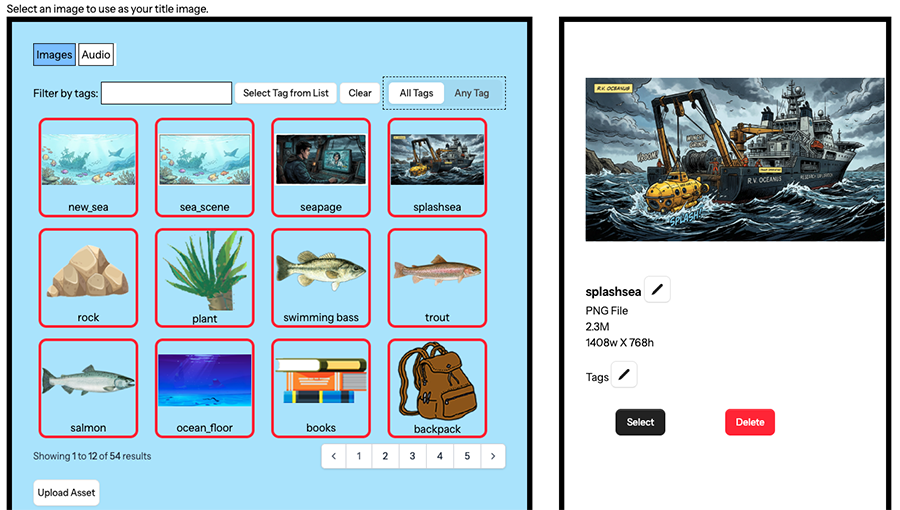
Click the image you want as the background and then click the select button at right to select it.
Do you want audio in your visual novel?
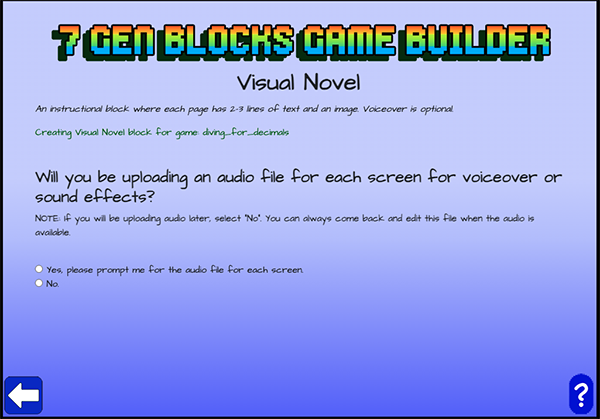
If you want an audio file to play for each screen for voiceover or sound effects, click “Yes”. If you select “Yes”, you will be prompted for the audio file on each screen.
If you want audio but don’t have it recorded yet, pick, “No”. You can come back and add it later.

Your visual novel screens
Adding a screen really is as easy as 1, 2, 3
First, type in some text.
Then click submit. The number of characters allowed for your visual novel screen will be determined by the theme. The theme in this example allows a maximum of 360 characters for the caption. At the bottom, next to the SUBMIT button, you can see how many characters you have used – in this example that is 93 of 360 characters allowed.
Next, select the image you want for this page.
When you click SUBMIT, the asset manager will come up and you click the image you want and then click SELECT, just as you did (maybe) for the title page.
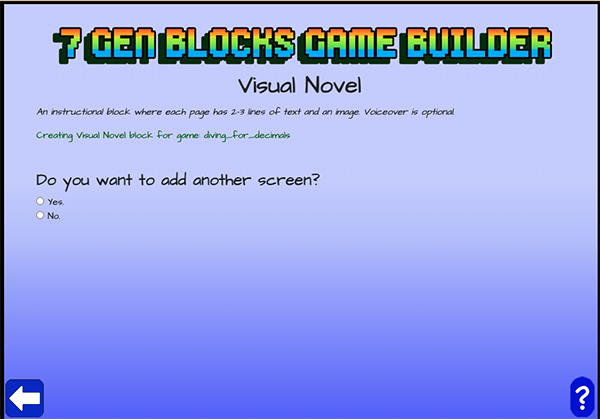
Pick the next screen (or not)
If you select “Yes”, you’ll be back at the screen to enter text . Just keep adding new screens until you’re finished.
If you select no, you’ll be prompted for the next block.
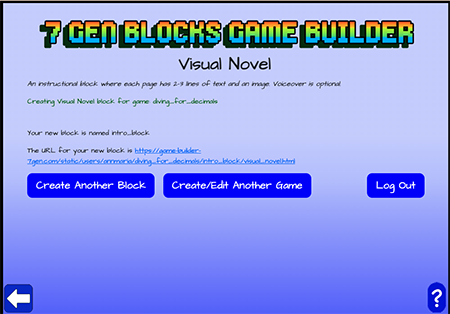
After the next block is entered, you can select to create another, create or edit another game or log out.
To see the visual novel block you just created in a new tab, click on the link for your new block.