Why Use It?
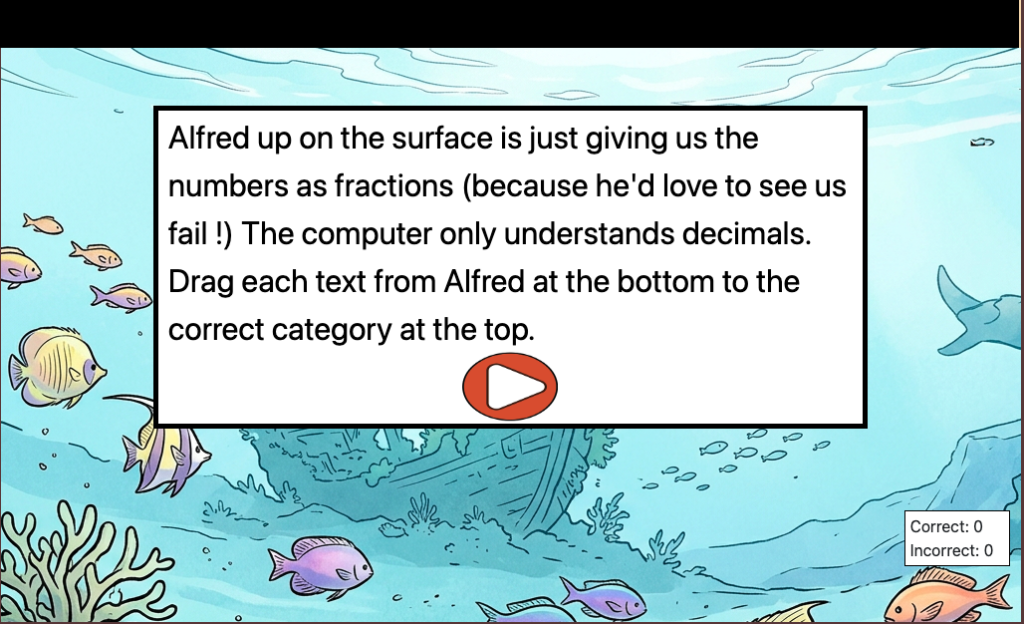
The drag and drop assessment has three ‘categories’ where matching items can be dropped. Users can be sent to different blocks depending on whether they answer the assessment correctly or incorrectly. Categories can be just text or text plus images.
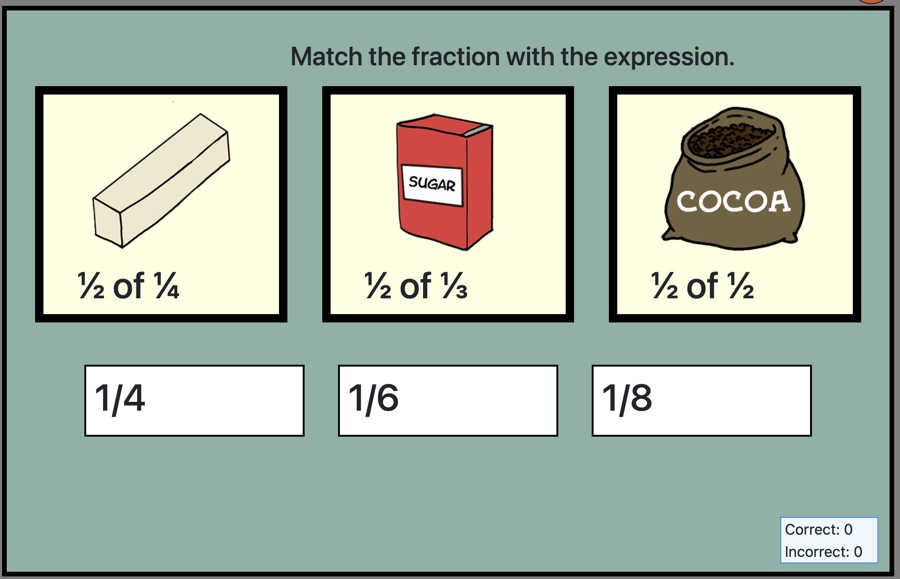
The most common uses for this block are:
Mathematics
- Drag numbers in order from smallest to largest.
- Drag fractions on to the correct image
- Drag definitions on to the correct mathematics terms
- Drag the equation on to the answer
- Drag the word problem on to the answer
Informational Text and Literature
Need a PowerPoint to teach your class how to use this block? Here you go.
Creating a Drag into Categories Block
As always, you start by either selecting, “Create a new game” or “Edit an existing game”.
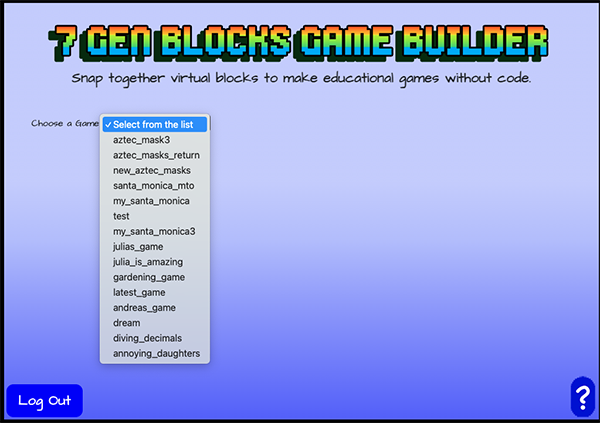
Let’s assume you are editing an existing game, so you select the game name from a list.
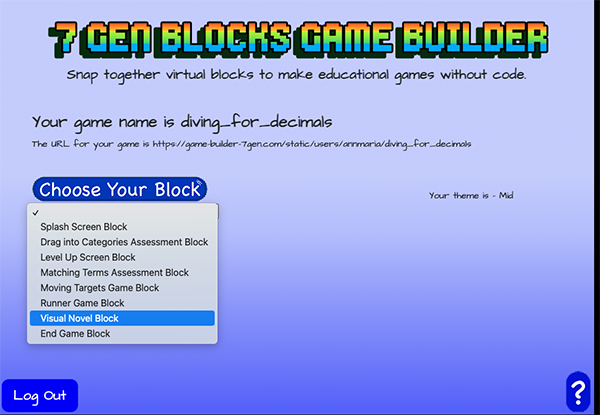
Whether you are editing an existing game or creating a new one, your next step is to choose your block from the list. Choose DRAG INTO CATEGORIES ASSESSMENT BLOCK.
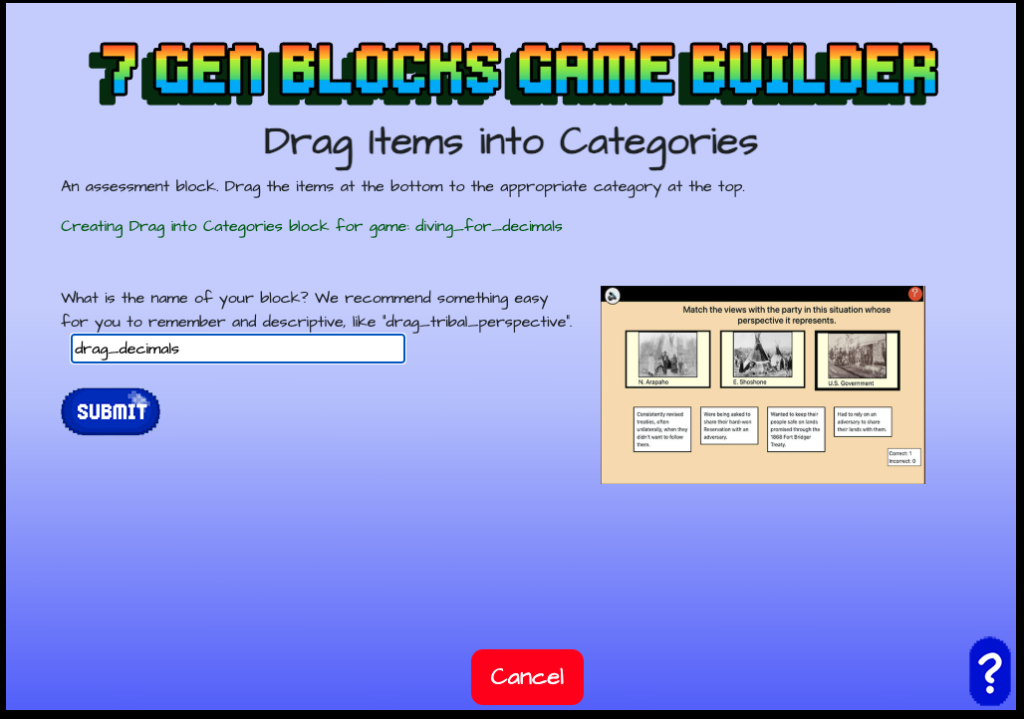
As with every block, you need to give it a name.
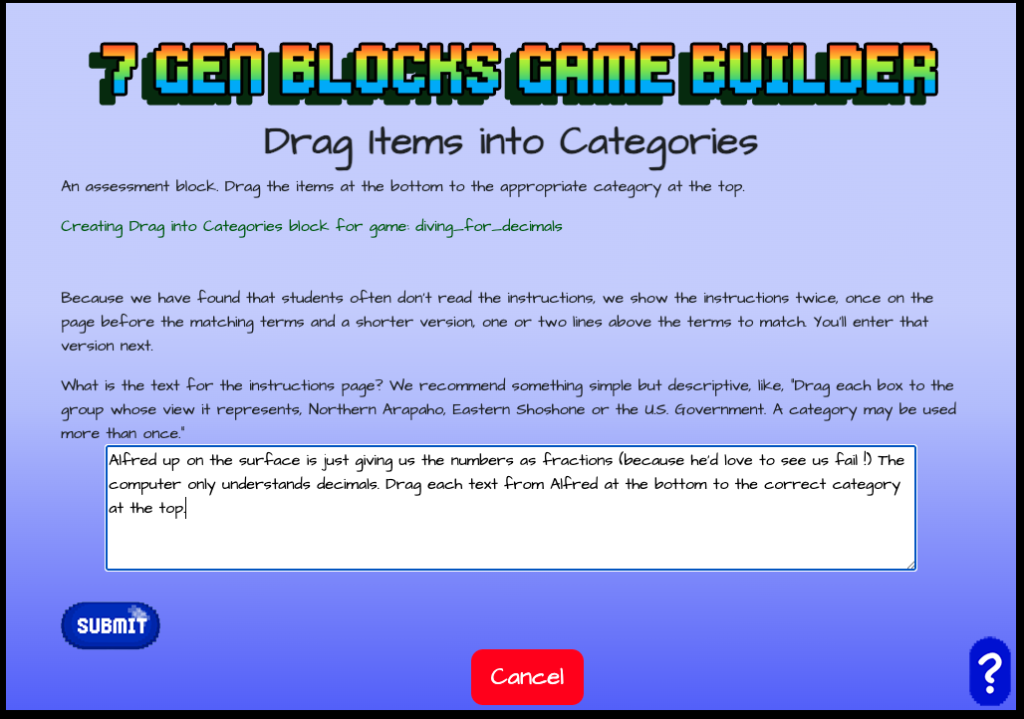
Type the instructions you want players to see BEFORE this assessment.
Every teacher knows that students don’t read instructions
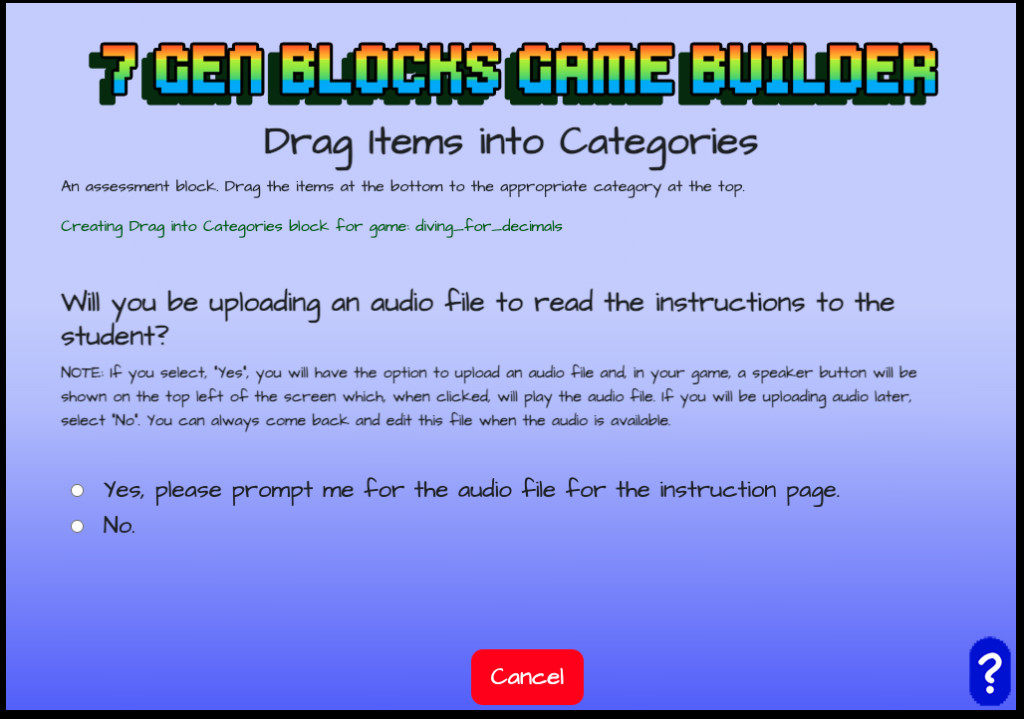
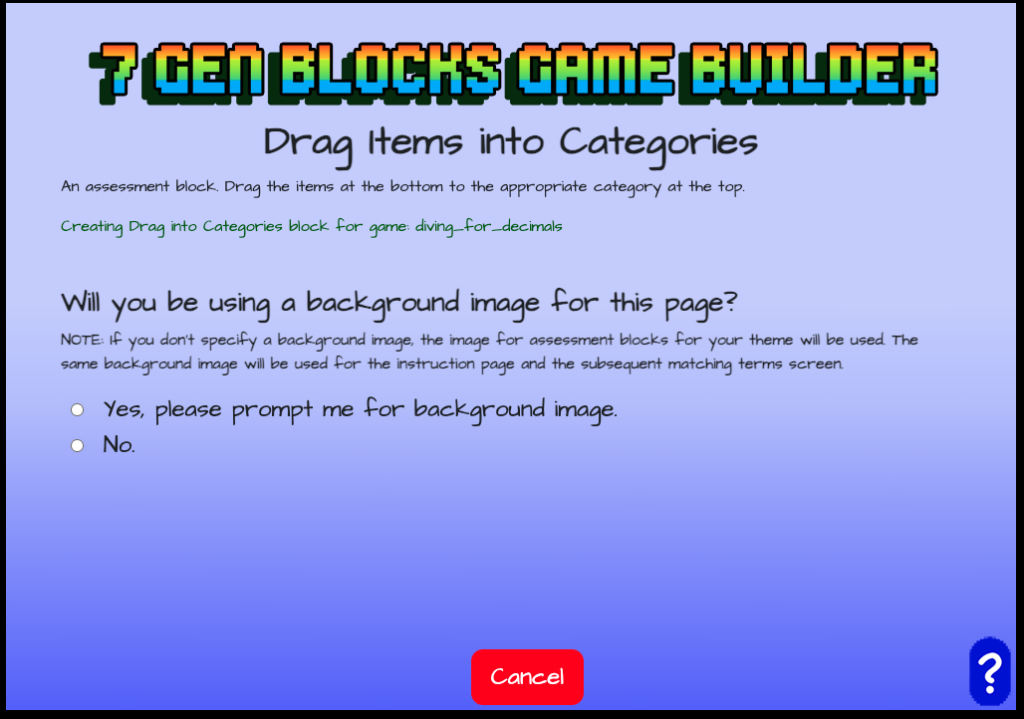
That is why we have two required and two optional instruction screens. The first screen will be shown before the drag into categories screen. It just shows instructions. Next, you’ll be asked if you want to upload an audio file that students could click to hear the instructions read to them. This is optional. If you say yes, the asset manager page will come up to allow you to select or upload the audio. In this example, I said, “No”. The next screen asks if I want a background image.
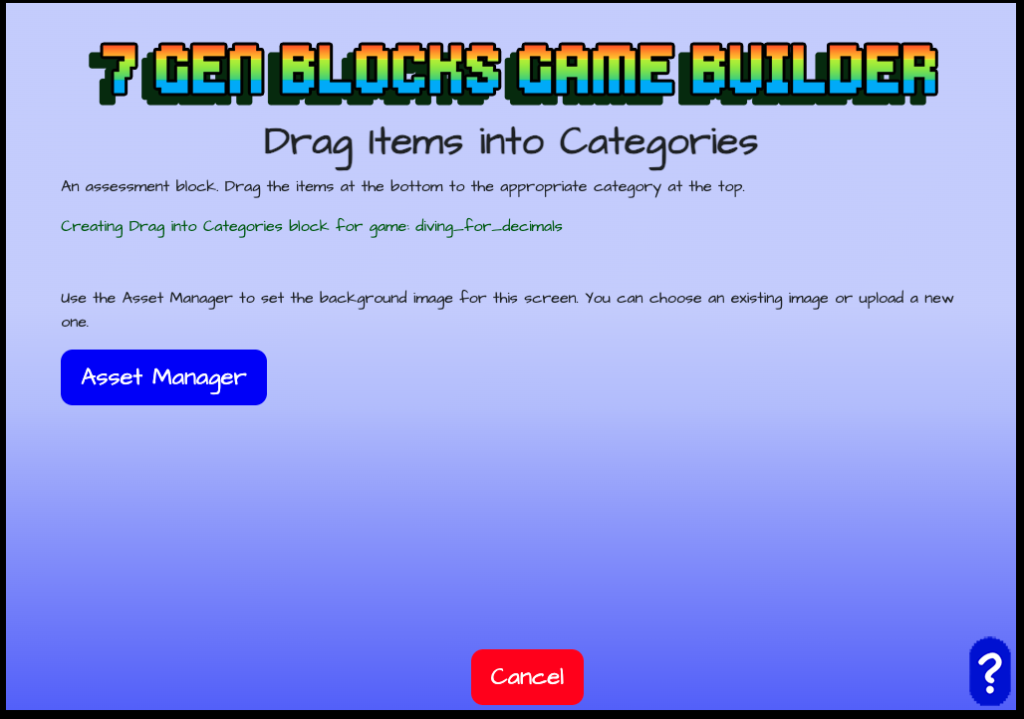
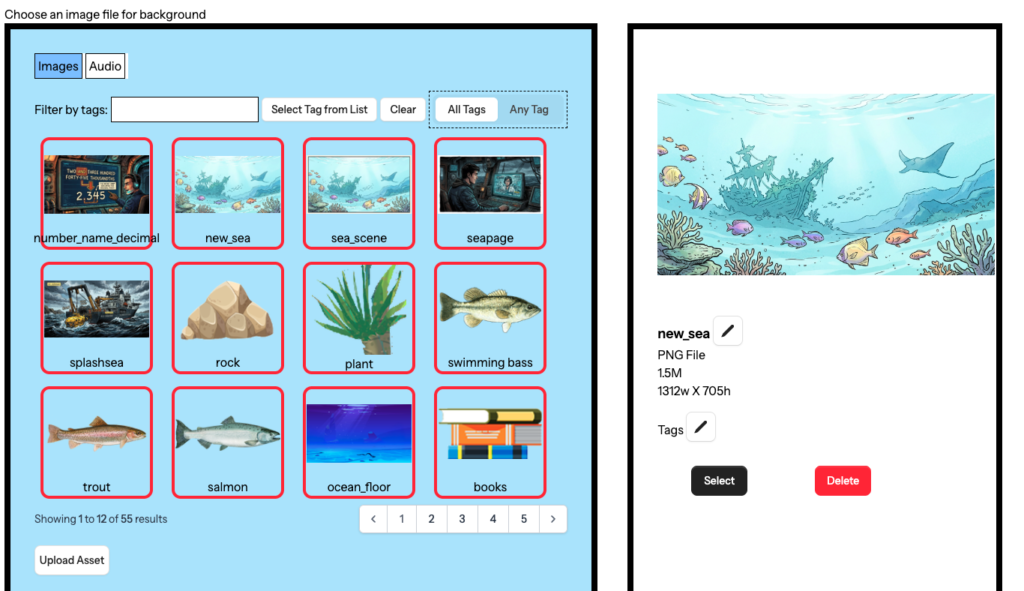
If you choose, “Yes, please prompt me for a background image”, the asset manager screen will come up. Click on the ASSET MANAGER button. You will need to either choose an existing image or you can click UPLOAD ASSET and upload an image. Click on the image you want and the select box will be shown at right. Click SELECT.
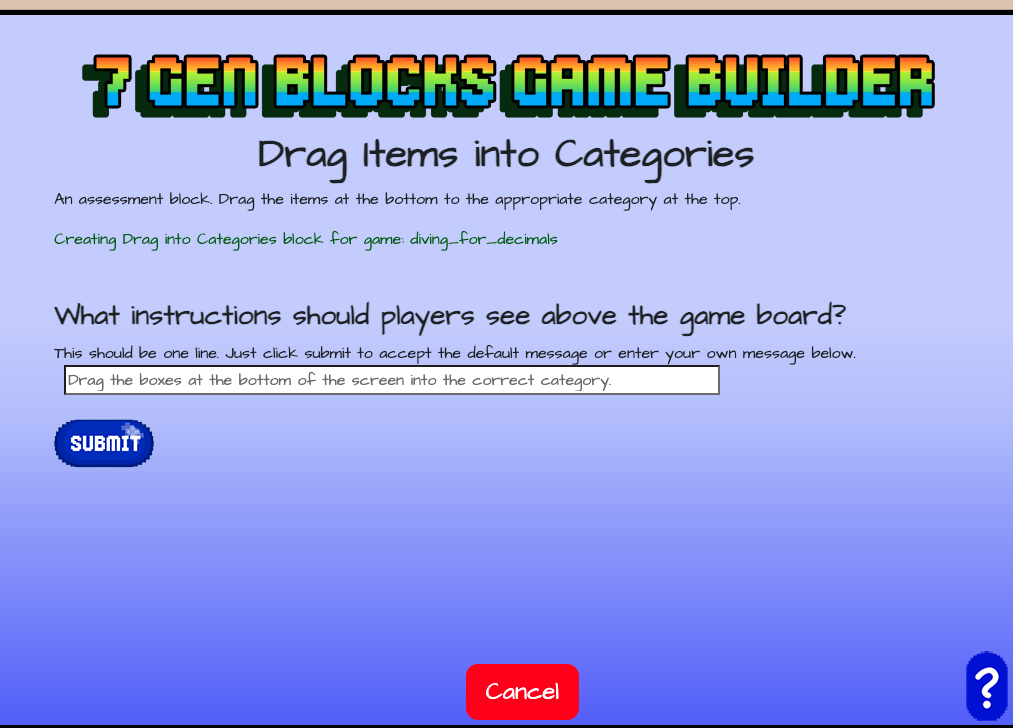
The next screen asks what instructions should be seen above the game board. Why do we do this? Because it is not our first day on Earth and we know people click without reading the instructions on the previous page and then they are stuck.
After this screen, you will be prompted for if you want to upload an audio file for these instructions. If you click “YES”, you will be taken to the asset manager to select or upload your audio file.
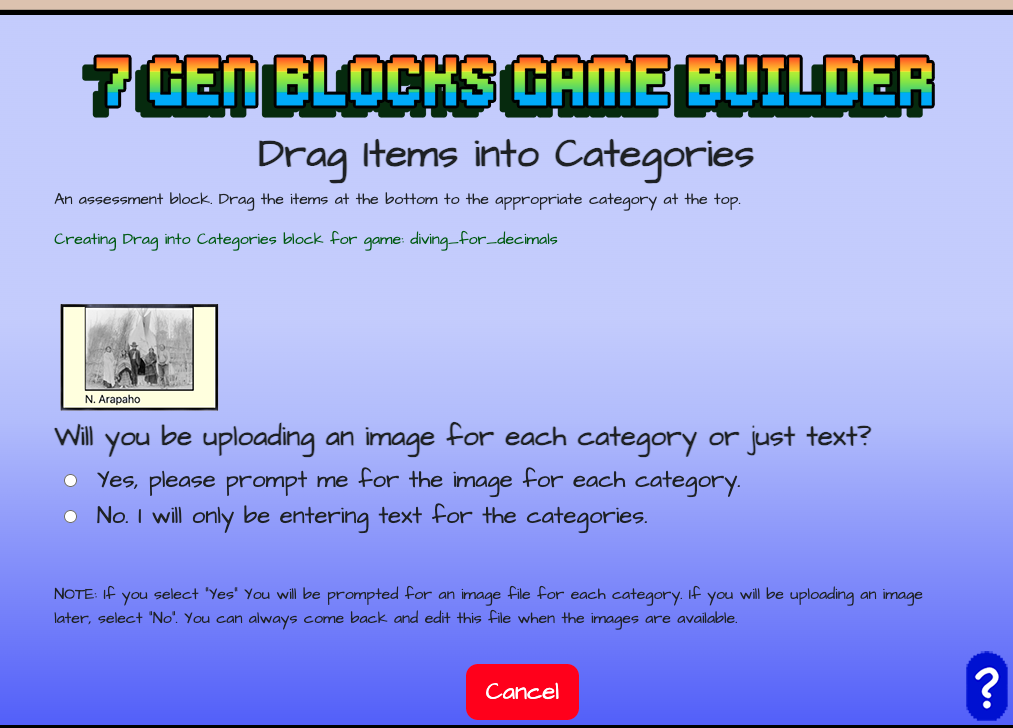
You have the option to have an image and caption for each category – check out what that looks like at the top of the screen – or just text.
One last prompt before we get to the categories. You’ll be asked if you want an image for each category. If you select yes, you will see the asset manager screen again and pick images. In this example, I selected “NO”, so we move on to the a categories and items screens.
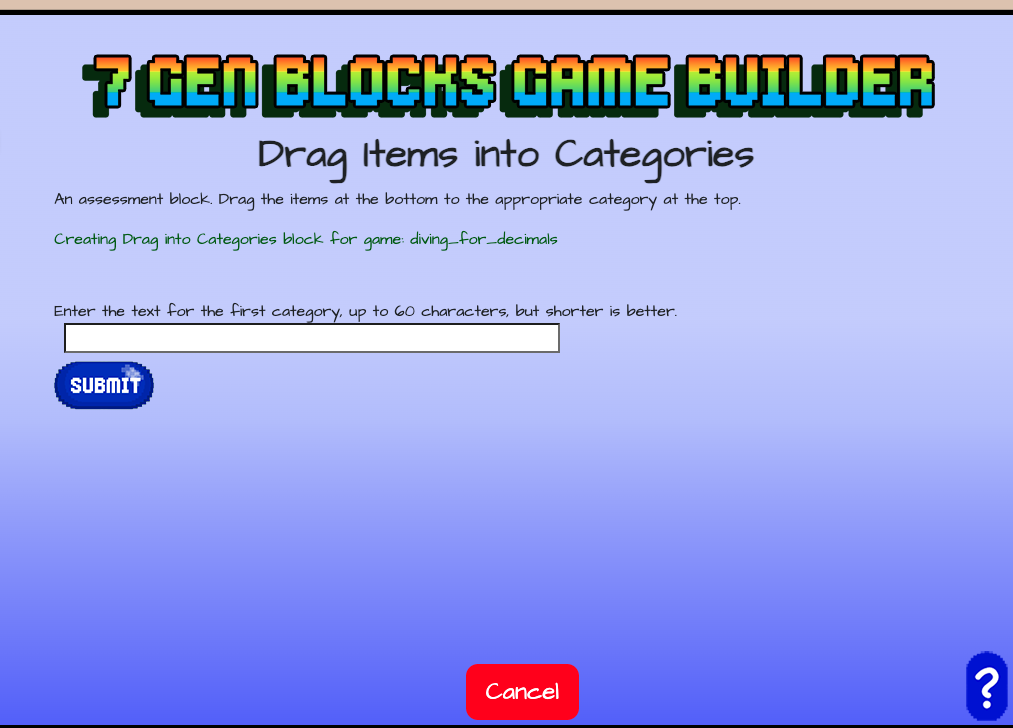
You’ll see this screen three times, once for each category, asking you to enter the text.
Pay attention on this screen!
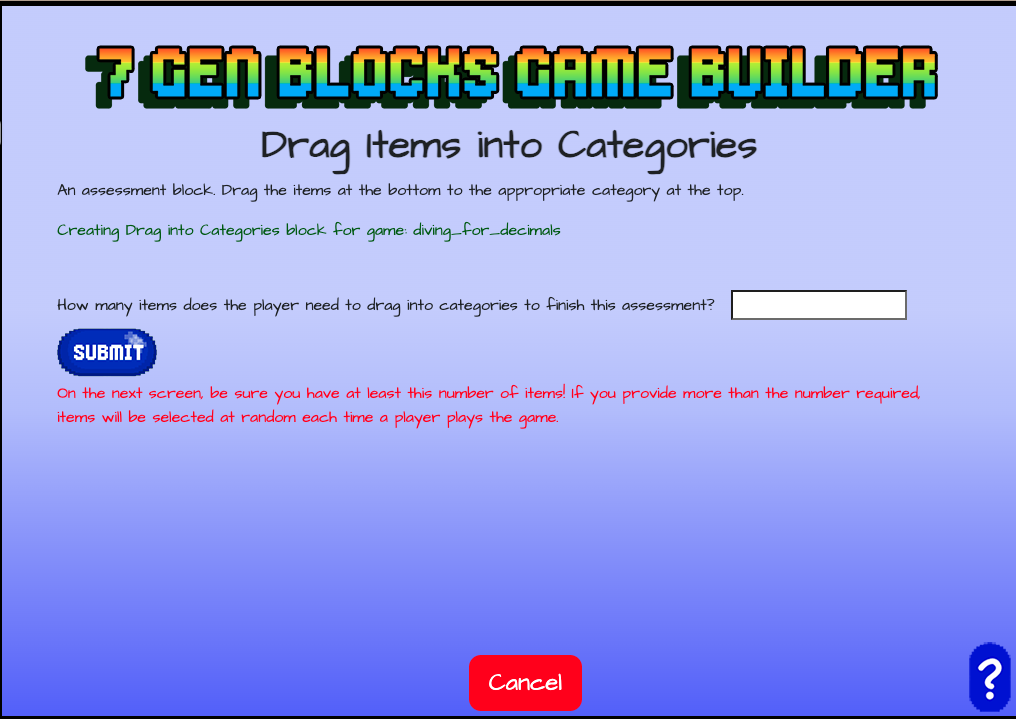
You will be asked how many items the player must drag correctly to finish this block. If you say 6, make sure you have six items on the next screen!
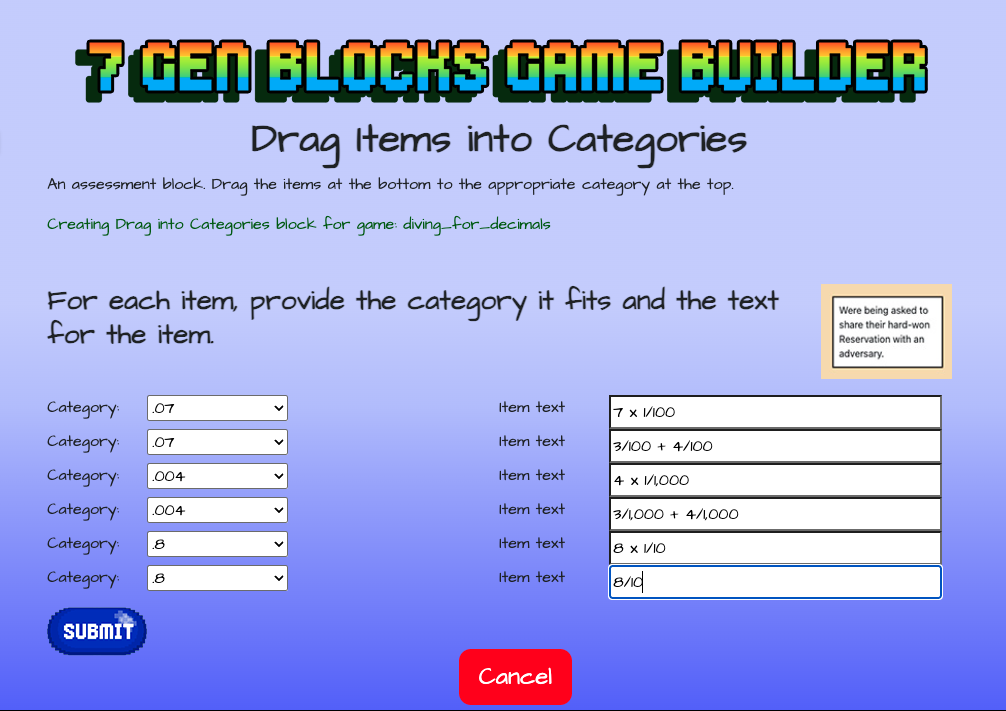
The next screen asks for items that go with each category. Initially, all of the categories at left will show the first category you entered, say, .07. Leave as is or select the desired category from the drop down menu. In the field on the right, enter the text for an item that matches that category.
Correct and incorrect answers blocks
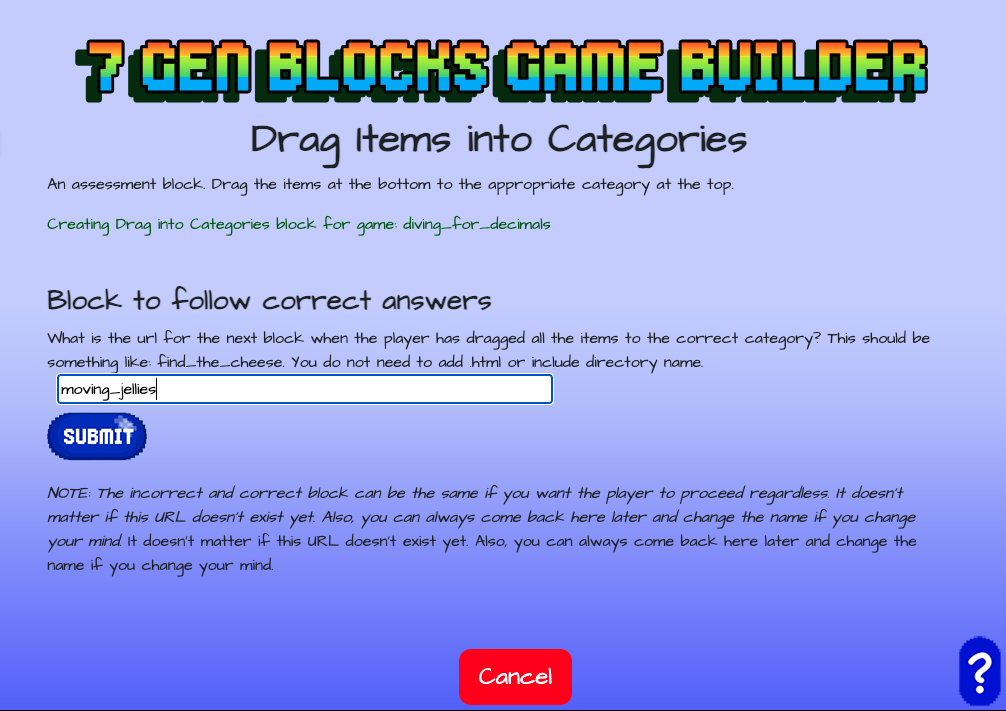
The next two screens will ask the next block for when the player gets all of the answers correct, that is drags all items to the correct category, and when they get some of the items incorrect. If you want the player to proceed no matter what, these can be the same block.
As always, it doesn’t matter if this next block exists yet or not. You can create it later.
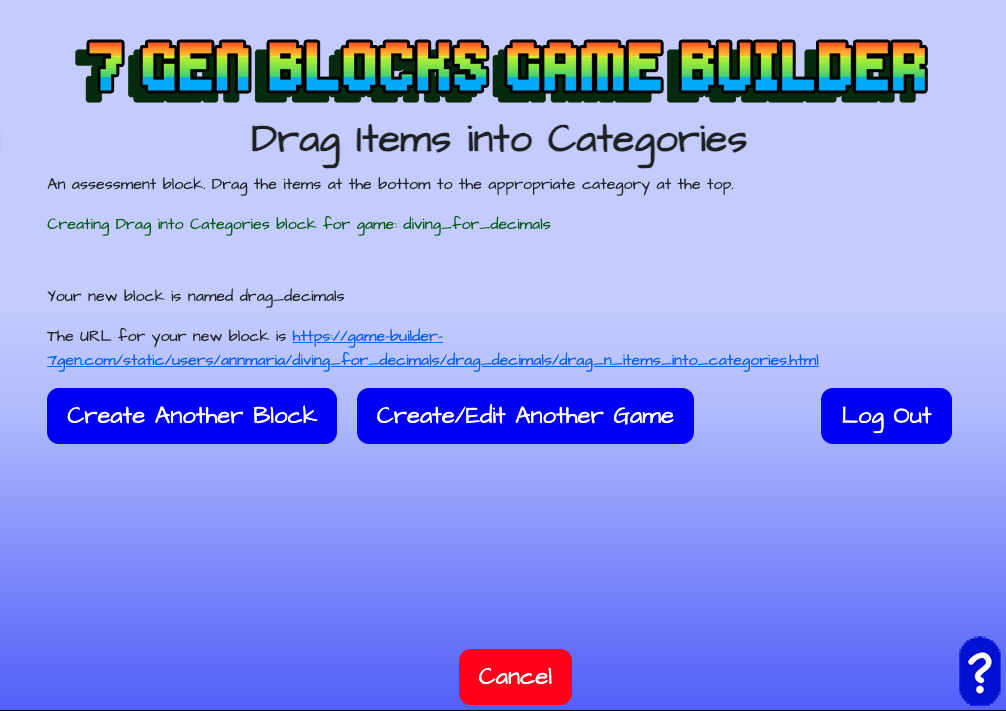
Create another block for this game, create/ edit another game …
Or… click on the link to see and test out the block you just created, which will open in another tab.